Passwords have become an inevitable part of our everyday digital life. The more online accounts you have, the more passwords you have to deal with. Well, it’s not easy to remember so many passwords. You would either note them down somewhere, most probably in your Notes app. That said, it’s absolutely a risky affair. If your iPhone falls into the wrong hands, your online accounts can be easily accessed and you might get into some series trouble. The other way to save your passwords is to pay for a password manager. Apple users can always use iCloud keychain to save and sync passwords across multiple Apple devices. That said, you anyways have to create passwords for different accounts and sync them to iCloud Keychain whenever you update them.
When data leaks have become so much more frequent in the past few years, we need a solid mechanism that offer more security. Hackers are smart enough to break into your social accounts and steal your private info. We all have seen how FaceBook accounts are hacked, and it has become very common. This is one such example. The list is endless. Cyber criminals can find a way barge into your private accounts and mess with your data.
Well, things are now pretty much simple and secure for Apple users. With iOS 16, iPadOS 16, and macOS Ventura, Apple introduced passkeys which can literally make passwords a thing of the past. Just imagine, you don’t have to create, save, or remember passwords, at all! With passkeys, you can log into your account on an app or website (that supports passkeys) using your Face ID or Touch ID. This security feature will safeguard your online account from cyber criminals who can steal your data. It’s worth knowing that Google also announced passkey support for Android and Google Chrome web browsers. You can create passkeys for your existing accounts on supported websites or apps. Moreover, if you create a new account, you don’t have to create a password at all. To learn more about what is a passkey, how it works, and its importance, you can
If you’re wondering how to create a passkey on an iPhone or how to add a passkey to an app, we’ll be showing you everything in this article. We’ve mentioned everything you need to know about how to set up and use passkeys on iPhone and Mac.
Without any further ado, let’s dive into the passwordless future!
Passkeys on iPhone and Mac
What is Passkey on iOS 16?
Passkey is a simple and more secure way that rely on your FaceID or TouchID rather than a password to identify you on a supported website or app. In layman’s terms, it’s a cryptographic entity that’s used in place of a password and is not visible to you. It basically involves a combination of two keys, Public and Private. The Public key is registered with an app or website that you’re using whereas the Private key is available only on your devices and is end-to-end encrypted on iCloud Keychain. No one, not even Apple can read your passkeys. The Public & Private key pair ensures a private and strong relationship between your devices and the app/website.
Here are some important features that you should know about passkeys on an iPhone, iPad, or Mac:
- When you create a passkey for an app or a website, it’s only linked with that particular app/website. Therefore, you won’t be tricked into using a passkey to sign in to a fraudulent app/website.
- When you save a passkey on iCloud Keychain, it’s synced across all your devices where you’ve signed in using the same Apple ID. That said, you must ensure your devices are updated with the latest version of their respective operating systems i.e. iOS, iPadOS, and macOS.
- Once the passkey is stored, you can log into an account using biometrics (fingerprint or facial recognition).
- A Private Key will never leave your devices. Therefore, it can’t be leaked.
- You can securely share a passkey via AirDrop.
- You can use a passkey created on your iPhone to log in to a website or app on non-Apple devices like Google Chrome running on a Windows laptop.
Is Passkey the same as Password?
No, passkeys are passwords aren’t the same. The major difference between a passkey and a password is that passkeys don’t use the username and password combination. You’ll have a username and the password will be your device and your biometrics (Face ID or Touch ID) or a PIN. Therefore, a passkey is a more secure way to sign in to apps & websites that support it. Apart from being more secure, passkeys eliminate the risk of repetitive/similar passwords and they are less vulnerable to data breaches.
Pre-requisites to set up passkeys on iPhone and Mac
Before you begin with the steps to set up passkeys on an iPhone, here’s what you need to do:
1. Make sure your iPhone is running on iOS 16. If you haven’t updated to iOS 16, you must head to Settings > General > Software Update and install the update. If you’ve got a Mac, make sure you’ve installed macOS Ventura.
2. If you want to sync passkeys across your Apple gear, make sure to install iOS 16 or higher on your iPhone, iPadOS 16 or newer on your iPad, and macOS Ventura or later on your Mac.
3. If iCloud Keychain isn’t turned ON, you must do it now. For this, head to Settings > [Your Name] > iCloud > Passwords and Keychain.
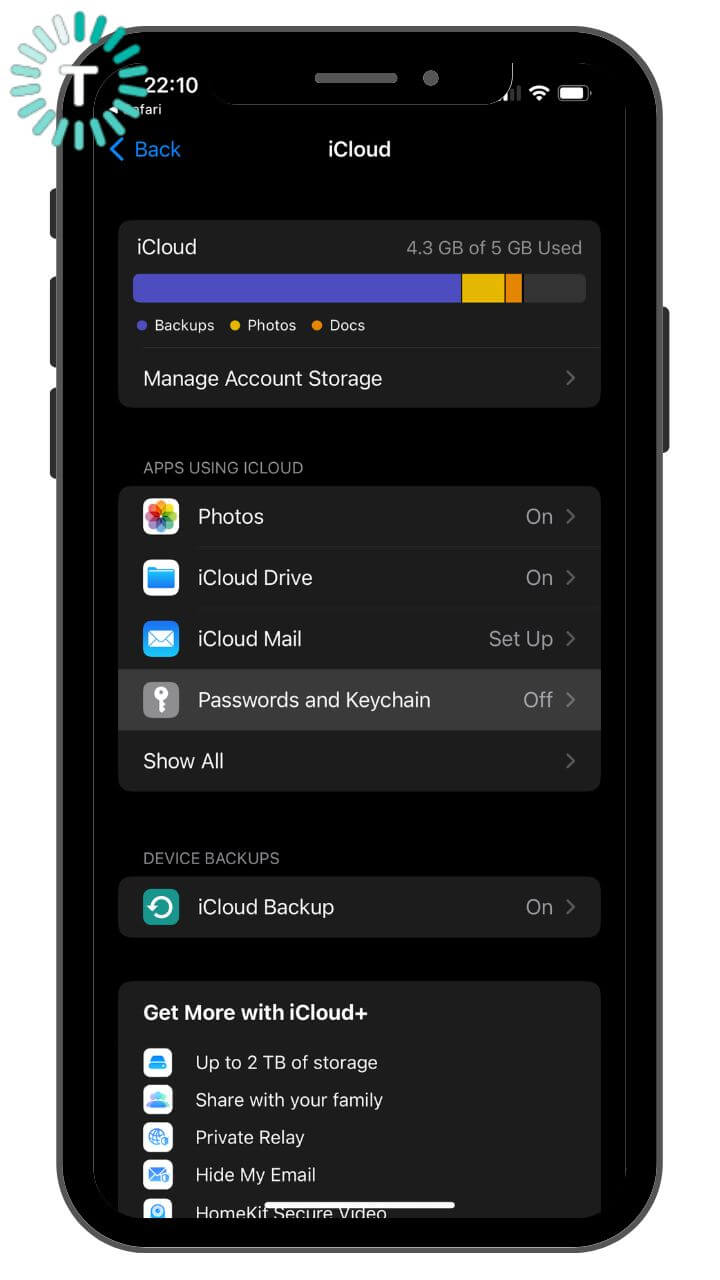
Then, turn ON the slider for Sync this iPhone
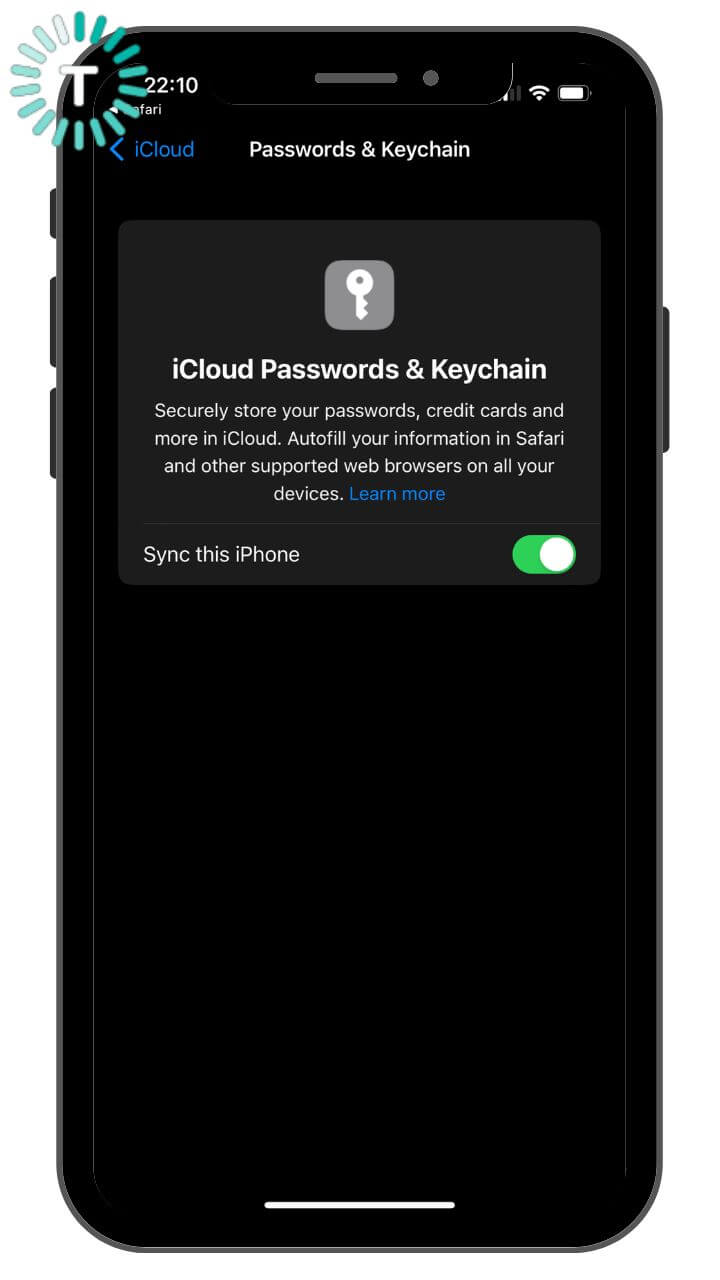
If you don’t do it beforehand, you’ll be asked to turn the iCloud Keychain ON when you try to save a passkey.
Also read: How to use WhatsApp on tablets or multiple smartphones
How to set up passkeys on iPhone and Mac?
The process of using a passkey is very similar to enrolling at a website for two-factor authentication (2FA). Here are the steps to create passkeys on an iPhone, iPad, or Mac:
1. On your iPhone or Mac, open the app for which you want to set up a passkey. For example, BestBuy, Kayak, PayPal, or any other passkey-supported app.
2. If you already have an account on that app or website, you can find the passkey feature in the Accounts Settings. For example, if you have an account on BestBuy, you can create a passkey by going to Settings > All Accounts Settings > Face or Fingerprint Sign-In > Set Up on This Device. Then, tap Continue and allow FaceID to scan your identity.
3. If you don’t have an account on an app, you can create a passkey right from the start.
4. When you see the log-in screen, choose the option to sign in with your email address. Please note that the steps might slightly vary across different apps.
5. Enter your email address and hit Create your account button.
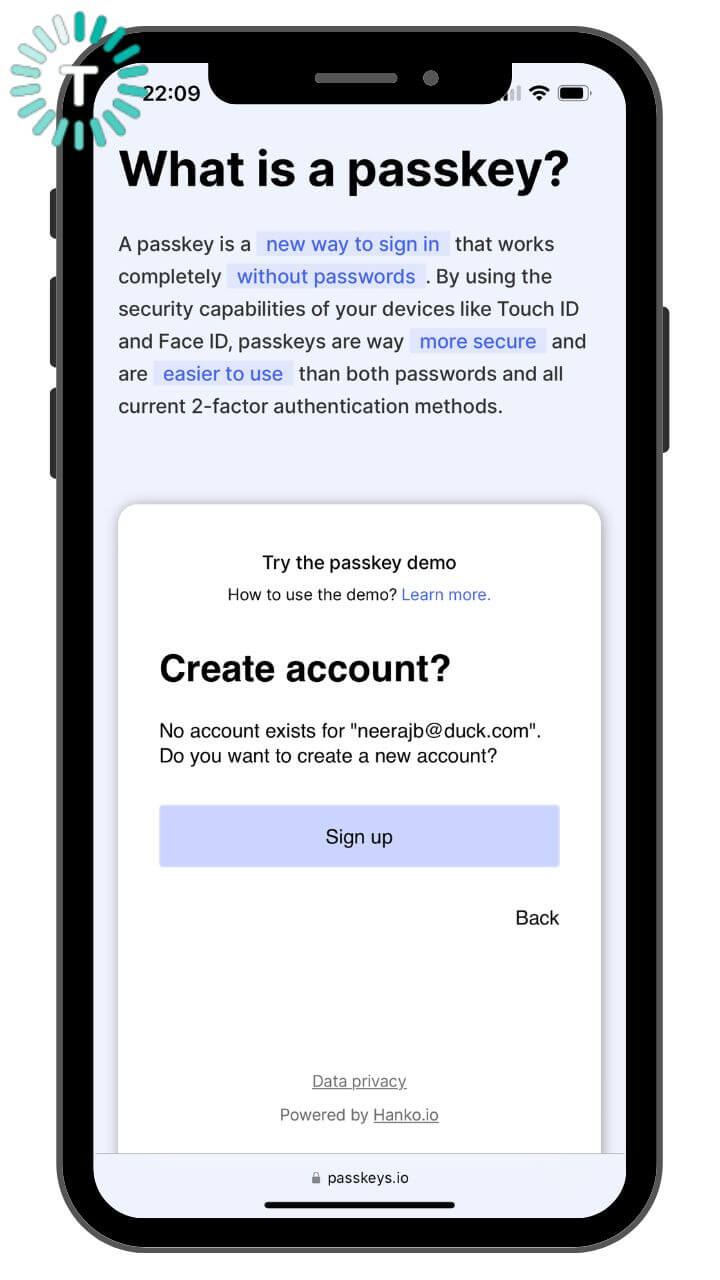
6. You’ll see a pop-up asking if you want to create a passkey for your address.
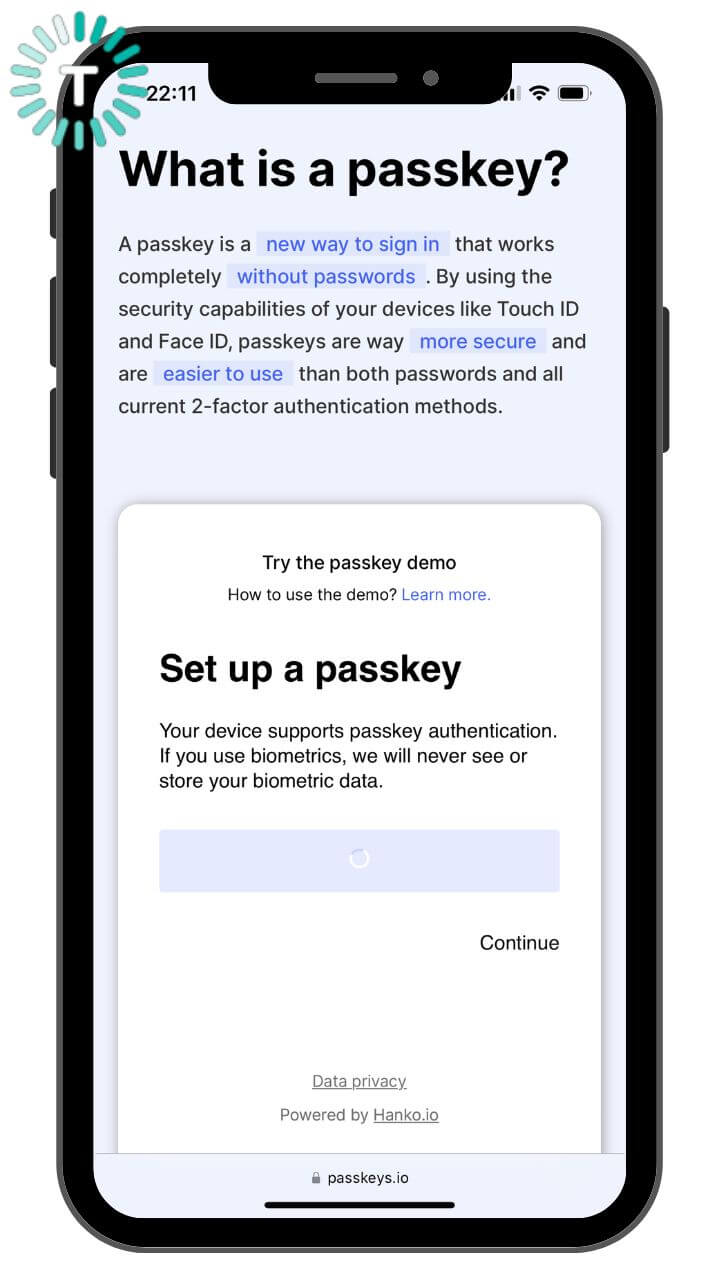
7. Tap Continue and allow FaceID to scan your face.
8. That’s it! You’ve created a passkey for your account on that app.
9. If you want to set up a passkey on a website, go to the account creation screen. Then, enter your email address and choose an option for Face ID or Touch ID. When you see a notification asking if you want to save a passkey for this site, hit Continue. You’ll be logged into your account and a passkey is created.
Also Read: Apple prepares to allow third-party app stores on iPhones
How to save a passkey for an account on your iPhone?
To sign in to an account on your iPhone, you must save the created passkey. Interestingly, saving a passkey on your iPhone and iCloud Keychain is pretty straightforward and can be done in a few seconds. Please note that depending on the browser, website, or app, the steps might differ slightly.
Here are the steps to save passkeys on your iPhone:
1. For an existing account, first, sign in with your password and then go to the account management screen.
2. For a new account, on the sign-up screen, enter the account name.
3. If you didn’t enable iCloud Keychain, you’ll be asked to do that to save a passkey.
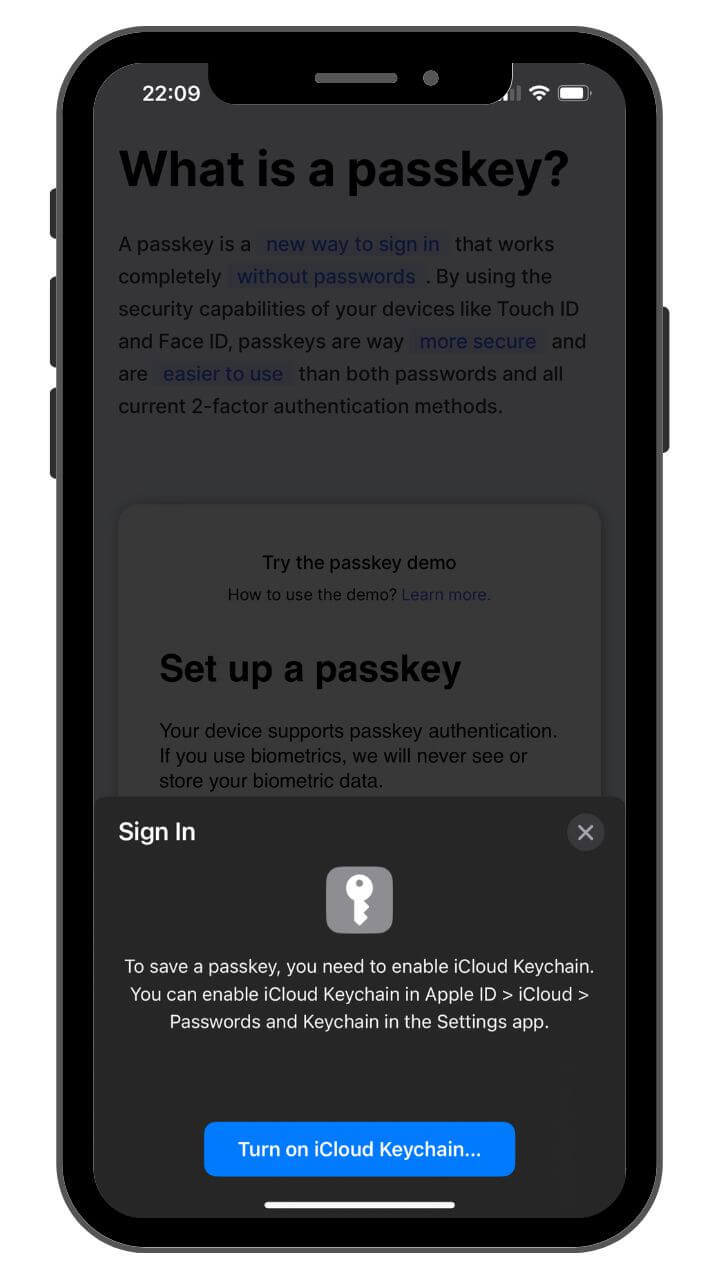
4. Once you enable iClould Keychain, you’ll see an option to save the passkey for that account.
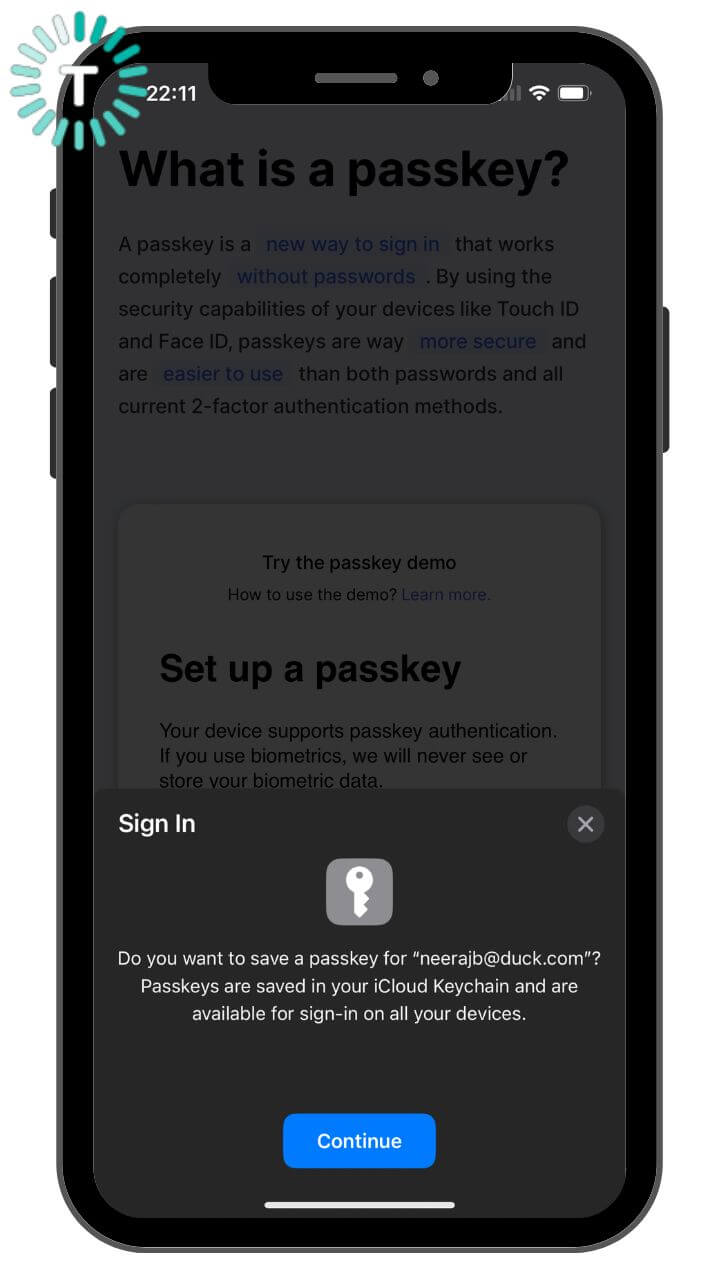
4. Tap Continue and your passkey will be saved.
5. You can repeat the steps for different accounts.
There can be instances when you’re using a device that’s not associated with your Apple ID. For example, you might use a computer at your friend’s house or a public computer at an internet cafe. In such cases too, you can save a passkey to your iPhone rather than that device. After all, there’s no sense in saving your passkeys on a public computer or a device that you don’t own.
Here’s how to save a passkey to your iPhone while using another device:
- Sign-up or sign in on the other device.
- Once you get the option to save a passkey for the account, choose Other Options > Save on Another Device, or a similar option that you see. Make sure you don’t hit the Continue button.
- Then, choose “Save a passkey on a device with a camera” or similar followed by the onscreen instructions to display a QR code on the screen.
- Lastly, scan the QR code using your iPhone camera.
Also Read: How to set up eSIM on an iPhone (Step-by-Step Guide)
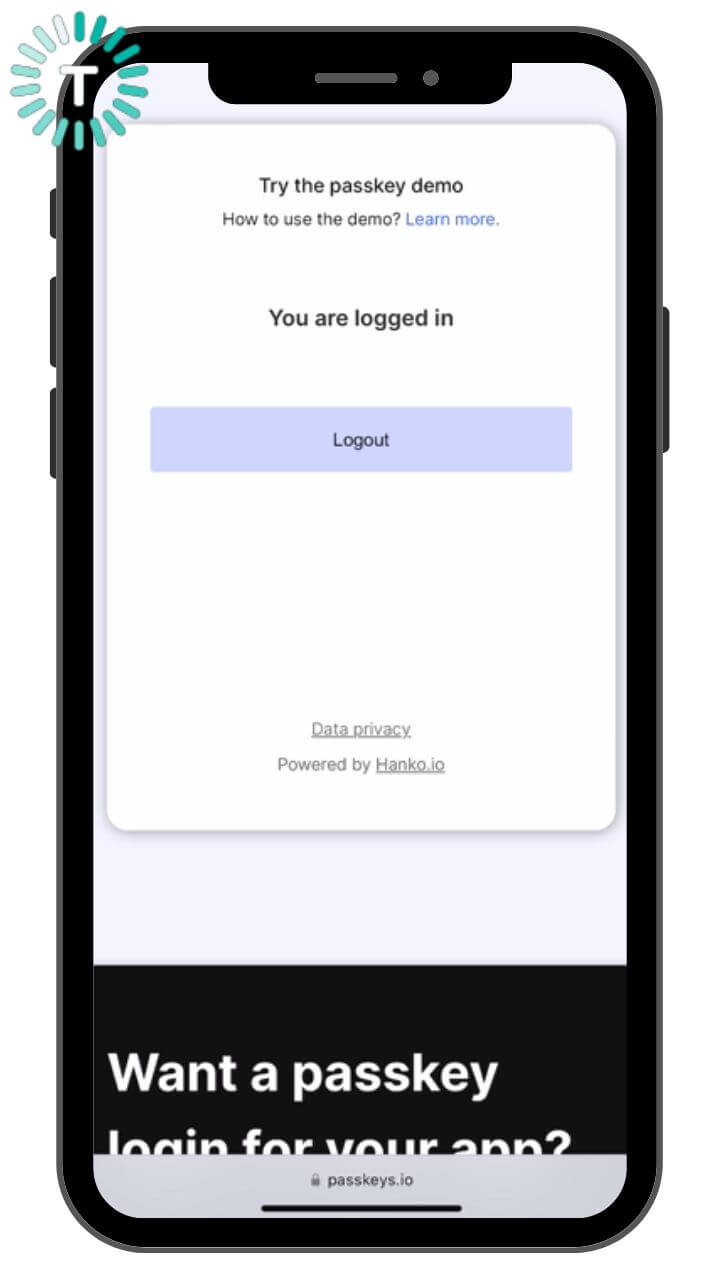
How to log in with a passkey on an iPhone?
Once the passkey is saved for an account on your iPhone, you can sign in to that app or website using that passkey instead of any passwords. Here’s how to use a passkey to log in to an account on your iPhone.
1. Open the website or app that you want to sign in to. When you see the sign-in screen, tap the account name field.
2. Then, tap the account that’s suggested at the bottom or near the top of the keyboard.
3. You’ll see an option to Sign in with a Passkey.
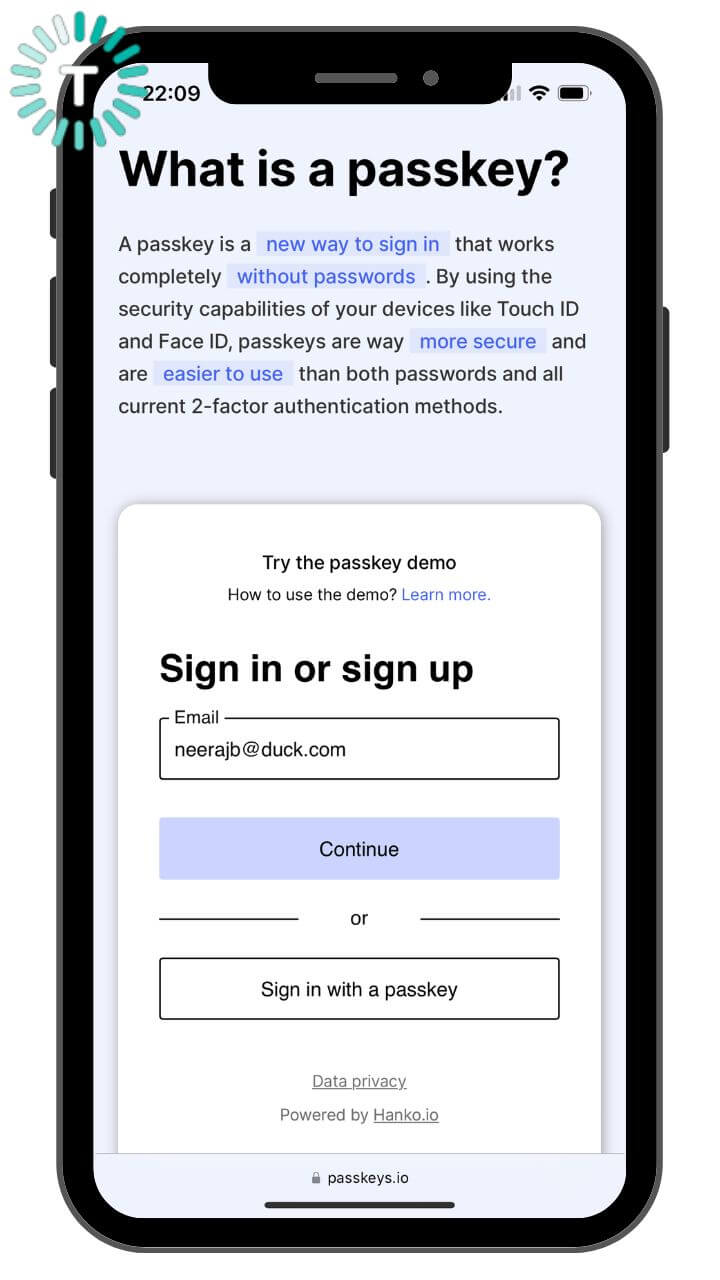
4. If you’re using an iPhone with a Touch ID, you need to verify your identity by following the onscreen instructions. Otherwise, the Face ID verifies your identity.
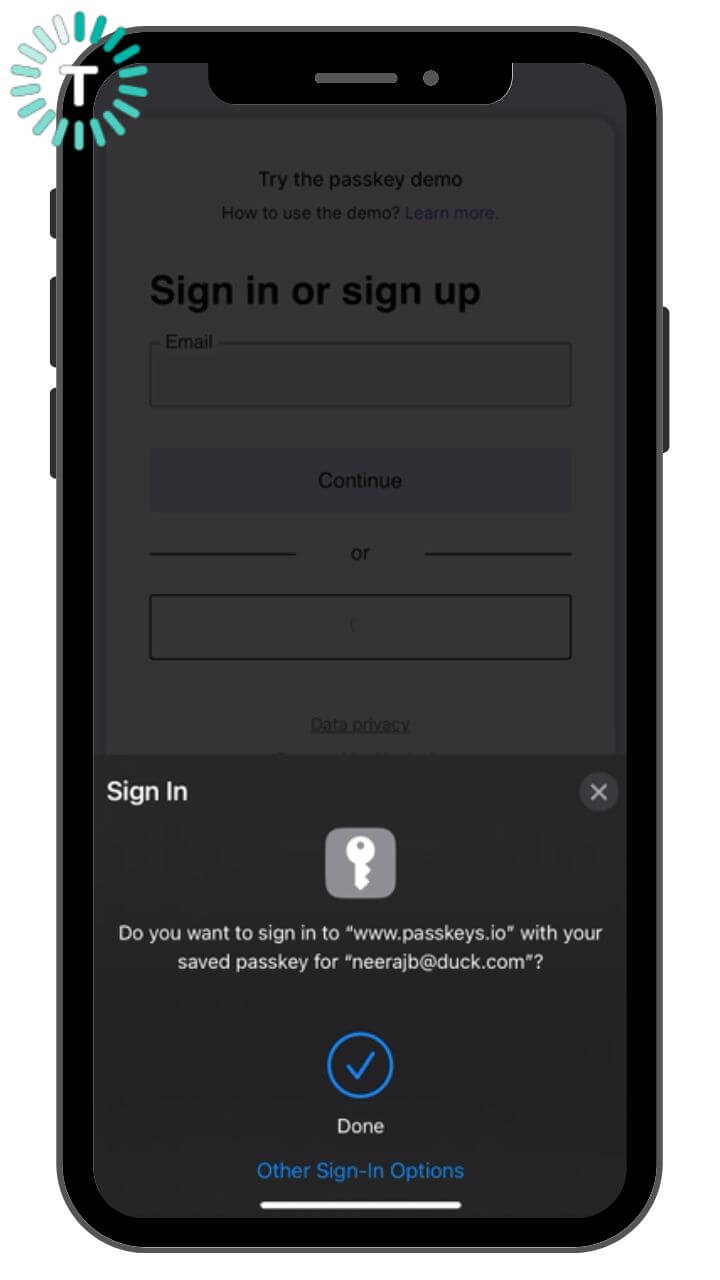
4. After that, you’ll be logged into your account via passkey.
How to log in on a different device using a passkey stored on your iPhone?
It’s worth knowing that your iPhone stores the passkey in iCloud Keychain. These passkeys are automatically synced to the devices where you’ve signed in with your Apple ID. Just makes sure that your devices are running on iOS 16, iPadOS 16, macOS Ventura, or tvOS 16.
Wondering how to sign in to a website or app on a different device that’s not linked to your Apple ID like a
Windows laptop or an Android smartphone?
Well, you can easily sign in to that website or app by using the passkey saved on your iPhone. Here’s how to do that:
- On the other device, open the account sign-in screen.
- Tap the account name field.
- Then, you need to tap “Other options,” “Passkey from a nearby device,” or similar.
- Follow the onscreen instructions to get a QR code.
- Once you’ve got the QR code, use your iPhone camera and scan it.
These were the steps to save and log in with a passkey on your iPhone. To use a passkey to log in to an account on your Mac, click here.
Also Read: How to use iPhone as a webcam on Mac using Continuity Camera
Can I create and use a passkey on my iPhone?
You can create and use a passkey on any iPhone that supports iOS 16. Any iPhone running an older version of iOS won’t allow you to use passkeys. Here’s the list of the iOS 16-supported iPhones. If you’ve got a compatible iPhone, update it to iOS 16 to use passkeys to sign in to your accounts.
- iPhone 14, 14 Plus
- iPhone 14 Pro, 14 Pro Max
- iPhone SE 2022
- iPhone 13, 13 Mini
- iPhone 13 Pro, 13 Pro Max
- iPhone 12, 12 Mini
- iPhone 12 Pro, iPhone 12 Pro Max
- iPhone 11
- iPhone 11 Pro, 11 Pro Max
- iPhone SE 2020
- iPhone XR, XS, XS Max
- iPhone 8 and 8 Plus
How to view, edit, or delete passkeys on your iPhone?
If you want to view or manage websites & apps for which you’ve created passkeys on your iPhone, open Settings > Password. You’ll see the list of apps & websites. Then, you can tap a specific entry to see more details. It will show you the username for that website/app and when you created the passkey. You can add a note about or even add/remove a corresponding password. To change certain information like your username, tap Edit. In case you want to remove a passkey for that website or app from your iPhone, tap Delete Passkey.
Also Read: How to translate in iPhone Camera [Currency, Text, & more]
Which apps & websites support Passkeys?
You must be super excited to know which apps & websites offer passkey support. It’s worth mentioning that right now, there are not that many websites & apps that allow you to log in with passkeys. That said, we can expect more names to hit the list in the coming few weeks. The more this technology is adopted, the more data is secured. In 2023, we’ll surely see more & more developers onboard to this future-proof technology.
Here’s the list of the apps and websites (at the time of writing this article) that support passkeys.
- Safari
- WordPress
- Best Buy
- Kayak
- CardPointers
- Carnival
- eBay
- GoDaddy
- Nvidia.com
- PayPal
- Dashlane
Also Read: Best End-to-End Encrypted Messaging Apps for iPhone and iPad
We hope this article helped you set up and use passkeys on your iPhone and Mac. Did you face any issues or everything turned out smoothly? We’ll love to hear about your experiences in the comments below.
If you want to set up and use passkeys on Android and Google Chrome, don’t forget to check out our detailed tutorial.

